DIY Guide: Simple Electrical Repairs You Can Do at Home
AT
Understanding Basic Electrical Safety
Before you embark on any electrical repair project, the most critical aspect to consider is safety. Working with electricity can be dangerous if not handled correctly, so it's essential to follow basic safety guidelines. Always ensure that the power is turned off at the circuit breaker before starting any repair. Use a voltage tester to confirm that the power is indeed off. Moreover, make sure you wear rubber-soled shoes and use tools with insulated handles to further protect yourself.
Essential Tools for DIY Electrical Repairs
Having the right tools can make your electrical repair tasks much easier and safer. Some basic tools you'll need include:
- Voltage tester
- Wire stripper
- Multimeter
- Needle-nose pliers
- Screwdrivers with insulated handles
With these tools, you’ll be well-equipped to tackle simple electrical repairs around your home.
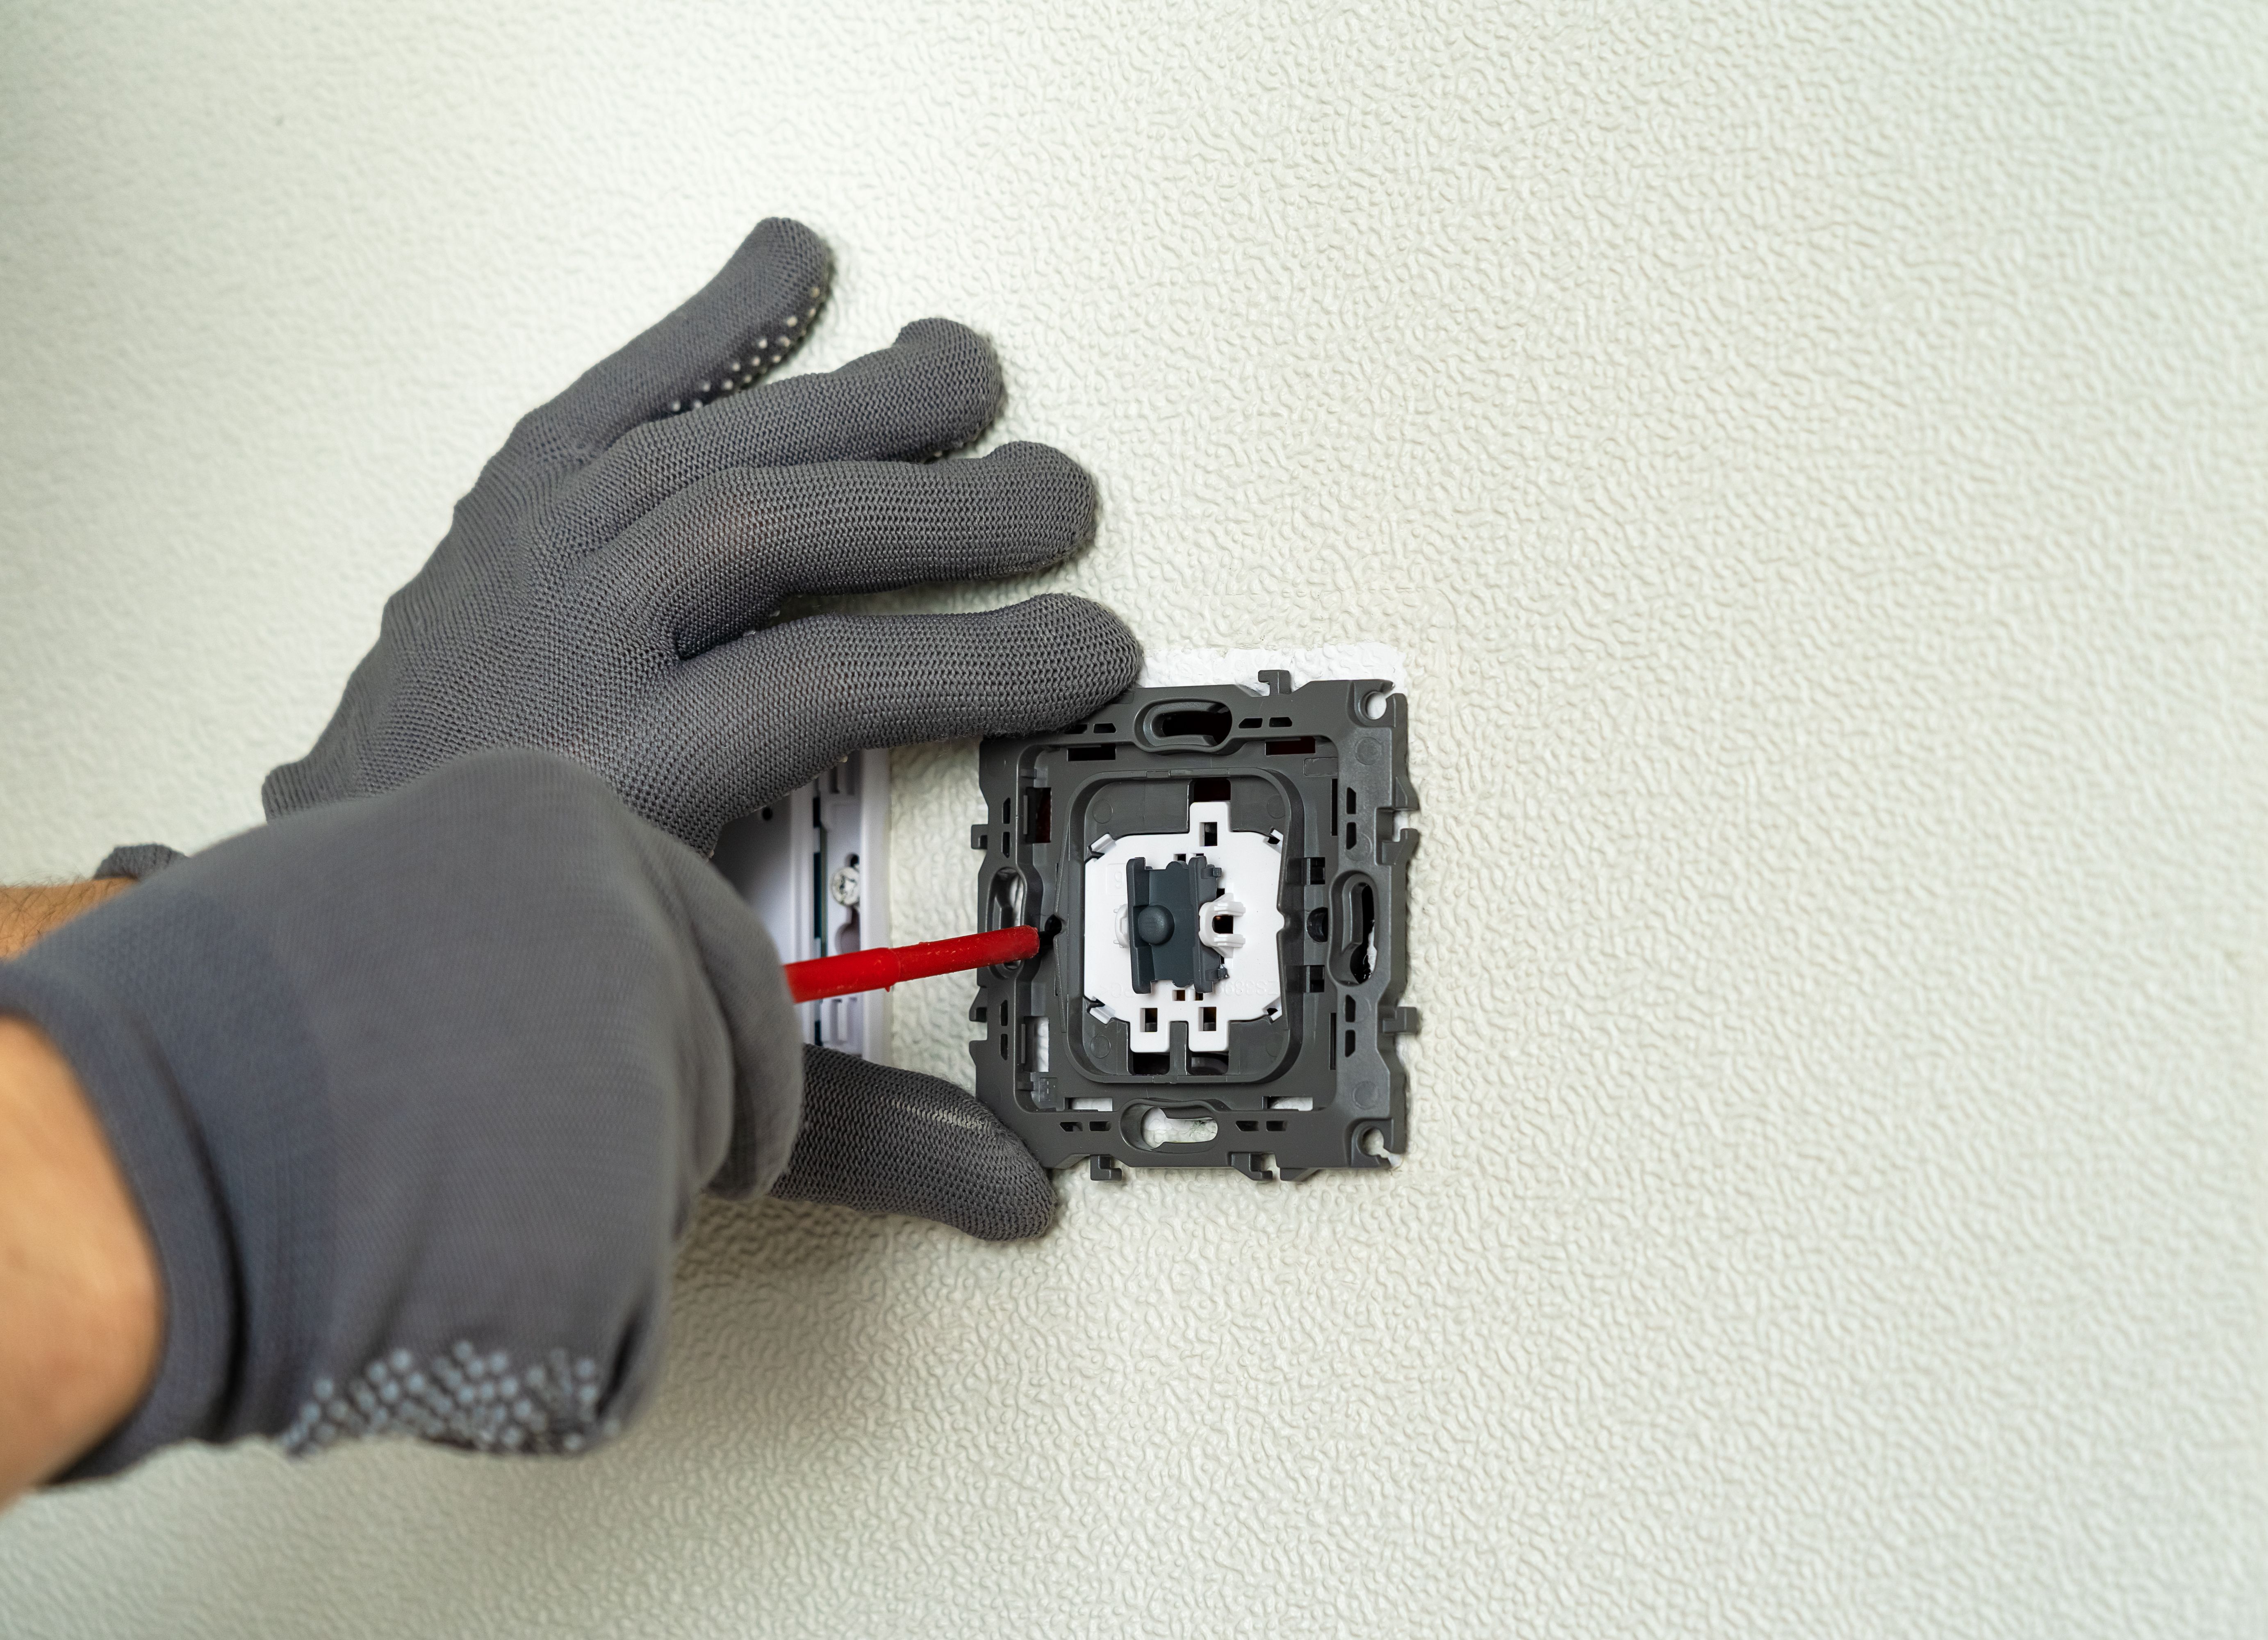
Fixing a Faulty Light Switch
A common issue in many households is a faulty light switch. Fortunately, this is a straightforward fix. First, ensure the power is off at the circuit breaker. Next, remove the switch plate cover and unscrew the switch from the electrical box. Check the wiring for loose connections. Tighten any loose wires and replace the switch if needed. Once everything is secure, reattach the switch plate and turn the power back on to test.
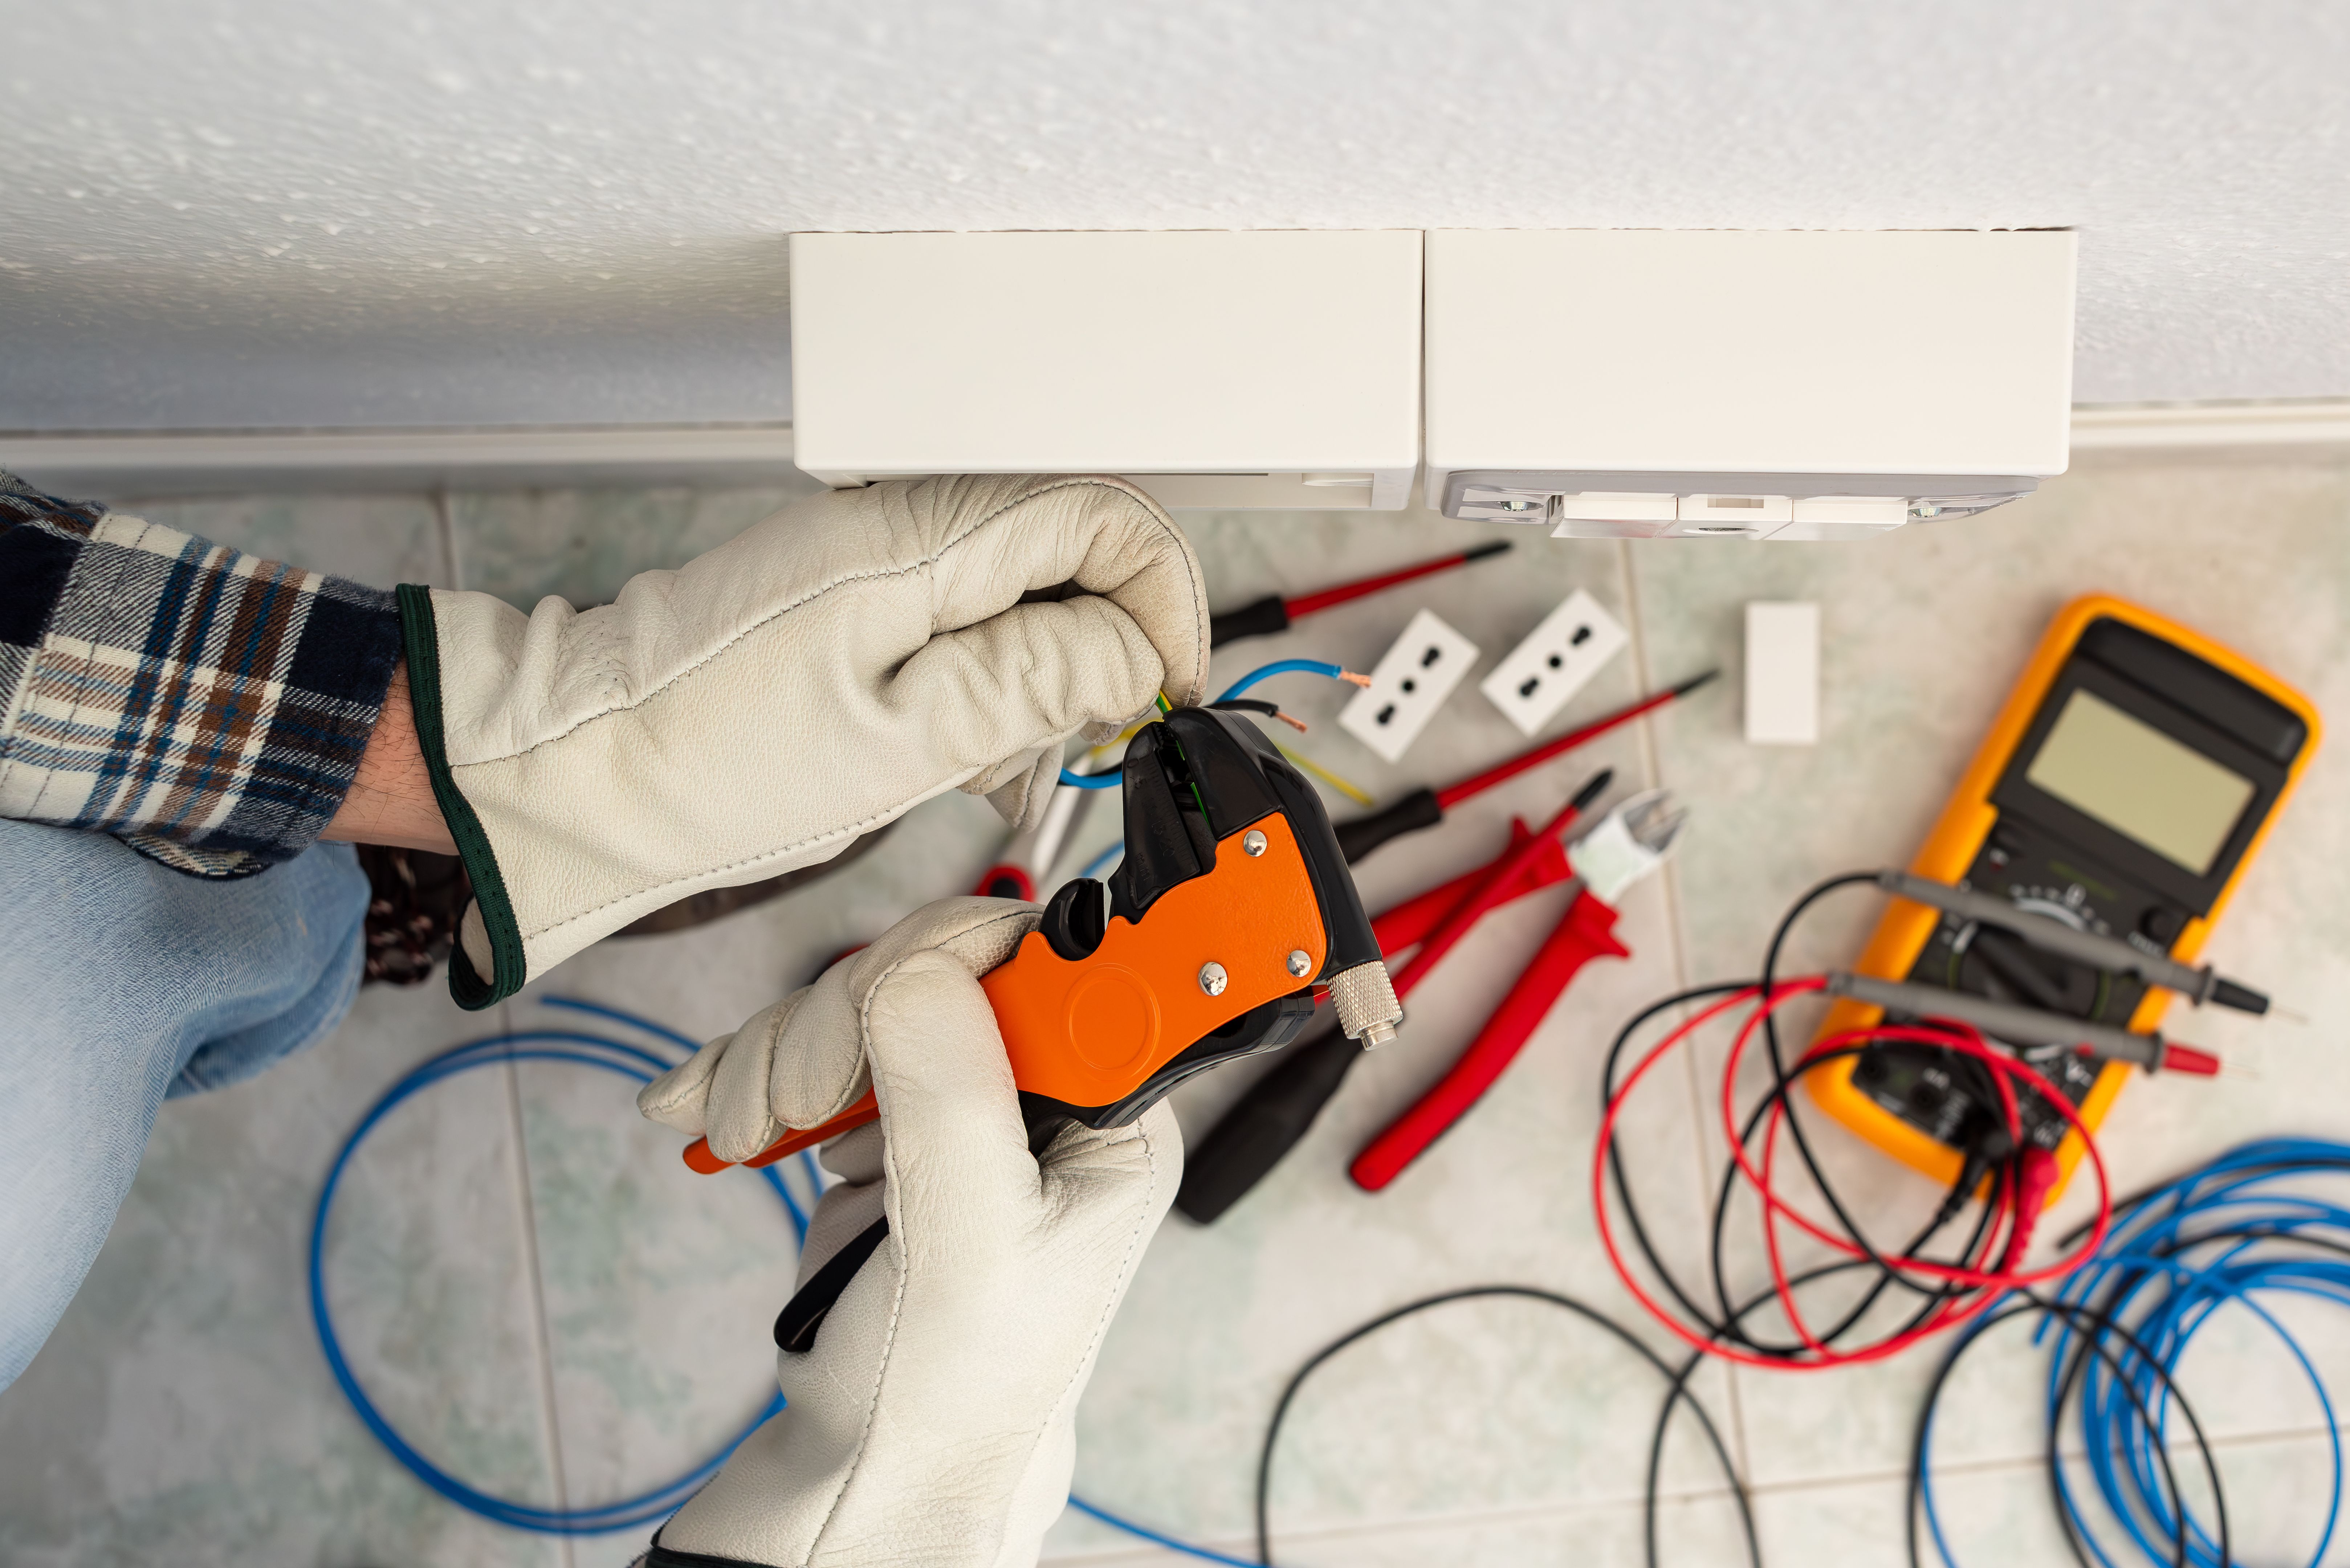
Repairing a Broken Outlet
A malfunctioning outlet can be frustrating, but it's another repair you can handle yourself. Begin by turning off the power to the outlet at the circuit breaker. Use a voltage tester to ensure there's no electricity flowing through the outlet. Remove the outlet cover and unscrew the outlet from the box. Inspect the wiring for any signs of damage or loose connections. If necessary, replace the outlet with a new one, reconnecting the wires as they were.
Replacing a Ceiling Light Fixture
Replacing a ceiling light fixture can update your space's look while enhancing its functionality. Start by turning off the power at the breaker and removing the existing fixture. Carefully disconnect the wires and remove the fixture from the ceiling. Install the new fixture by connecting it to the existing wiring, usually matching black to black and white to white. Secure it to the ceiling, attach any covers or shades, and turn on the power to test your installation.
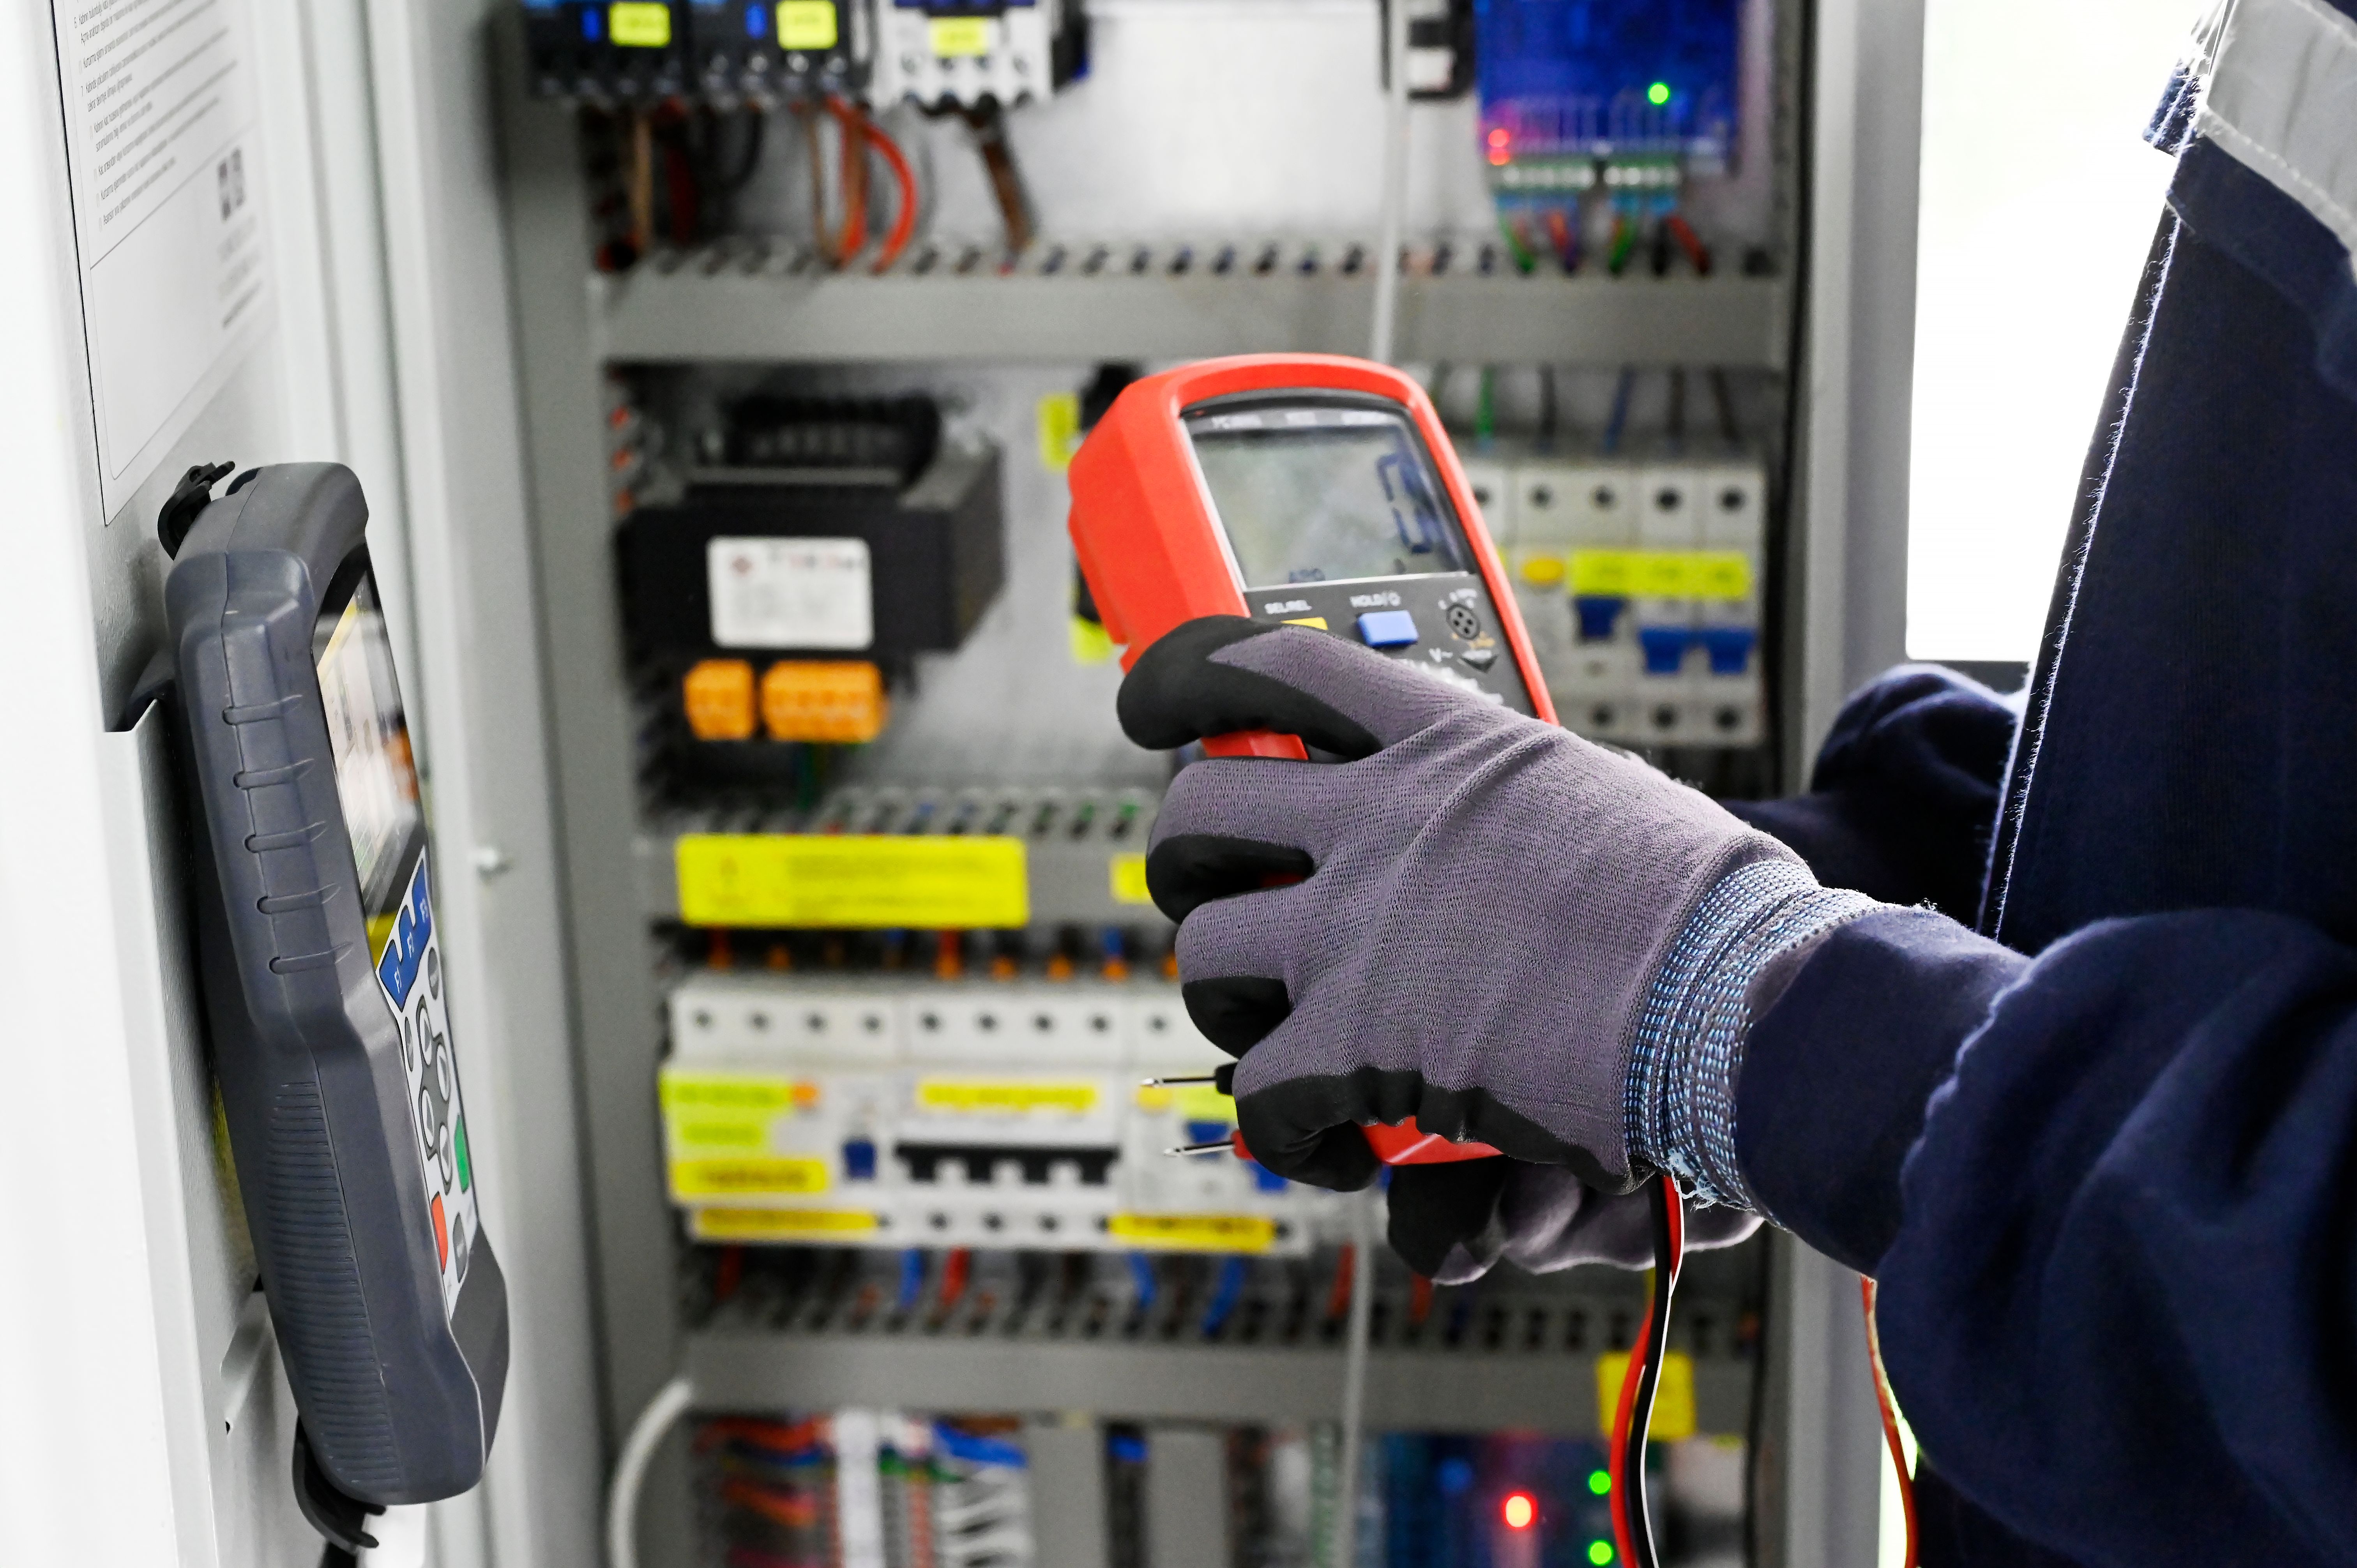
Troubleshooting Tripped Circuit Breakers
If you experience frequent tripped breakers, it might indicate an overloaded circuit. To troubleshoot, first identify which appliances are connected to that circuit and try redistributing them to other circuits if possible. Check for any damaged wires in affected areas and replace them as needed. If tripping persists, consult an electrician as it may require more extensive repairs or upgrades.
When to Call a Professional
While many electrical repairs can be done DIY-style, there are times when it's best to call in a professional. If you're dealing with complex issues like rewiring or suspect a problem within your main electrical panel, don't hesitate to reach out for expert help. It's better to be safe than sorry when it comes to electricity.